If you are buying an SMD Screen in Pakistan, ask for three things before approving the quote: a drawing with the finished dimensions, a written list of who handles each part of the installation, and a plan for testing the screen before you sign off. These details help you compare quotes and give your installer, electrician, and site team the same brief.
An installation usually moves through a site survey, quote approval, site preparation, mounting, screen setup, and handover. Here’s what to check at each stage, whether you’re fitting a retail video wall, a boardroom display, or an outdoor advertising screen.
1. Start with a Site Survey
Show the Installer What People Need to See
Bring a sample of the content you plan to display. For a retail wall, that could be a video with prices or promotional text. For a meeting room, bring a slide deck or spreadsheet. Walk through the space with the installer and point out where people will stand or sit, including the closest and farthest viewing positions. A screen can fill the wall and still leave small text hard to read from the back of the room.
Ask the installer to explain the proposed Pixel Pitch, which is the distance between neighbouring pixels, and the final resolution. The two affect how much detail the wall can show at a given size. If you already have videos or artwork, ask whether they’ll fit the proposed screen shape or need to be resized.
Use MNK Digital’s screen sizing guide to check the dimensions and resolution.
Confirm the Screen Dimensions and Service Access
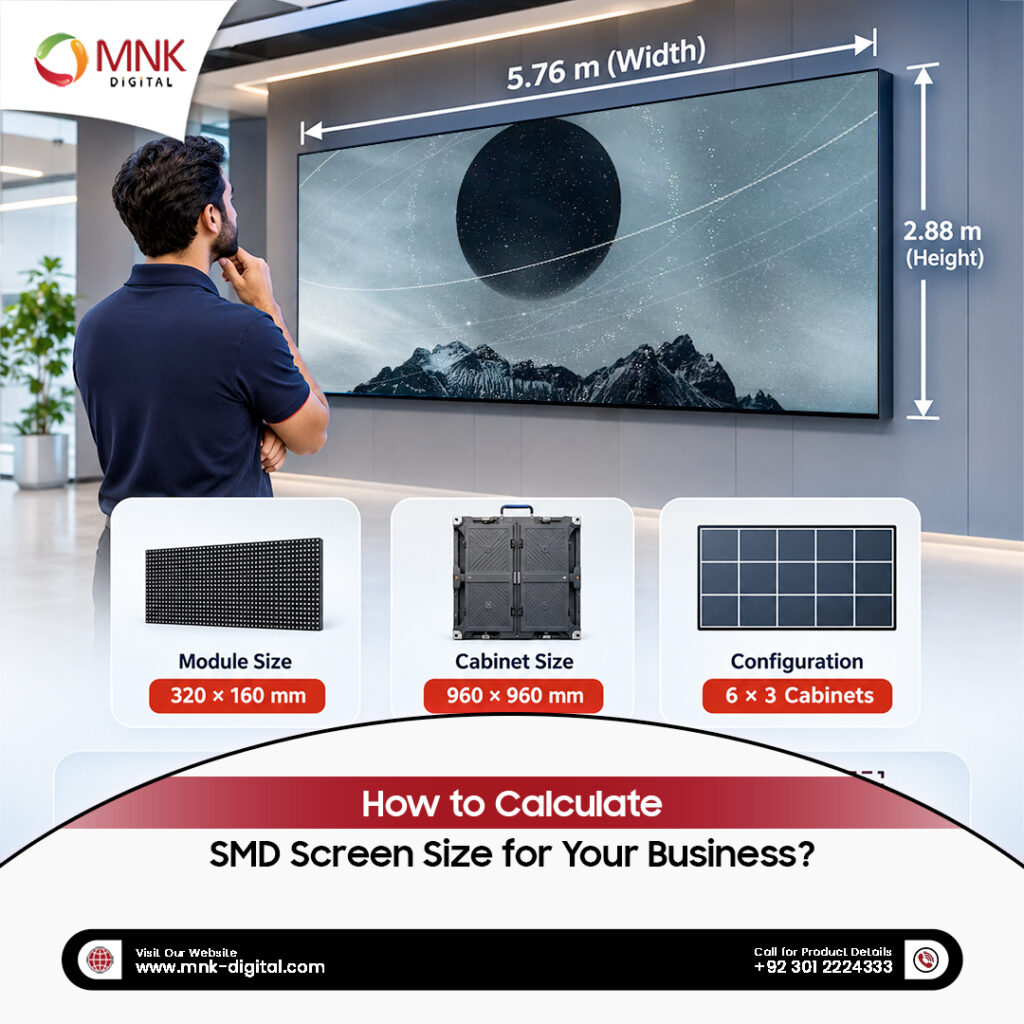
Ask for a drawing that shows the active display area, the part that lights up, and the total space the installation will occupy. SMD screens are assembled from cabinets or modules, so the final dimensions depend on how those components fit together. Have the drawing show the mounting height and any surrounding trim, doorways, or fixtures that affect the layout.
Ask how a technician would reach a module in the middle of the screen if it needed replacement. Some cabinet designs allow service from the front, while others require access behind the display. Unilumin’s Uslim III O, for example, supports both front and rear maintenance. Confirm the requirements for the exact model quoted before your contractor builds a recess or closes the surrounding wall.
2. Compare Quotes for the Complete Installation
A useful quote tells you what will be installed, what your team needs to provide, and what happens if the site is still being prepared on installation day. When comparing suppliers, ask each one to confirm the same items in writing.
| What to Check | What the Quote Should Tell You |
|---|---|
| Screen Hardware | Cabinet or module model, pixel pitch, finished dimensions, resolution, and any spare modules included |
| Mounting | Who supplies and fits the frame and who confirms the wall or supporting structure is suitable |
| Power and Signal | Who prepares the electrical supply, runs the cables, and provides the LED controller or media player |
| Site Access | Who arranges delivery, lifting equipment if required, and any work outside normal business hours |
| Handover and Support | Which tests, operator training, configuration files, warranty terms, and support contacts are included |
If one supplier includes the mounting frame and another lists it as a separate item, ask for both totals with the same scope. Do the same for cable runs, lifting equipment, and site preparation. A quote based only on screen area gives you a starting figure. An itemised quote shows what you’re committing to spend at your site.
See MNK Digital’s SMD screen price guide for the factors that affect the screen price.
3. Prepare the Site Before the Equipment Arrives
Check Lighting, Weather Exposure, and Access
For a shop window or a bright lobby, look at the proposed screen location during the part of the day when it gets the most light. Show the installer where sunlight falls and where viewers will stand. For an outdoor screen, point out exposure to rain and dust, including any exposed rear surfaces or connections. Ask for the manufacturer’s IP rating, which describes protection against solid particles and water. Confirm which parts of the cabinet the published rating applies to. Use the documentation for the exact model being supplied when reviewing an outdoor quote.
Agree on Who Will Make the Site Ready
If the display is going into a mall, office tower, or managed commercial building, check the property team’s delivery rules and approved work hours. Confirm the route from the loading point to the screen location, including lifts, doors, and stairs. Ask your installer to confirm that the equipment can be brought in through that route.
Before booking the installation date, have the installer and the site’s electrical contractor agree on where power and signal connections need to be. If the media player or controller will sit in another room, confirm its location and who will provide the cable route. Give the site team the approved screen drawing so they can prepare the wall, surrounding finishes, and access panels around the same dimensions.
4. Follow the Mounting and Setup
Inspect the Cabinet Alignment Before the Wall Is Closed
The installation team fits the mounting system and aligns the cabinets that make up the screen. If the display is being built into a wall or surrounded by joinery, arrange a check before the trim is installed. Look at the outer edges and the lines between cabinets from the normal viewing area. Raise any visible gaps or uneven edges while the team still has access.
Test the Equipment Your Team Will Actually Use
An LED Controller takes the input from a source such as a laptop or media player and sends the image to the display. During setup, the technician configures the cabinet layout so each cabinet shows the correct part of the picture. NovaStar’s VX400 manual documents this configuration and the controller’s built-in test patterns.
Ask the technician to connect the source your team will use after handover. In a boardroom, plug in a staff laptop and open a real presentation. In a shop, play the actual campaign playlist from the media player. Look for cropped prices, stretched logos, or text that becomes difficult to read from the intended viewing distance. If staff will switch between sources, have them try it during the demonstration.
5. Check the Screen and Complete the Handover
Review the Picture From the Audience’s Position
Ask the installer to show solid colours and a grid before running your content. Solid colours can make dark pixels or differences between cabinets easier to spot. A grid gives you straight lines to check across cabinet boundaries. Then watch your normal content from the closest and farthest viewing points. Read the smallest text people need to see and check that important details remain visible.
Have the Person Responsible for the Screen Run It
Ask the person who will operate the screen to turn it on, select the correct input, and change the content while the installer is still there. If a media player is included, ask for a demonstration of what happens after a normal restart. For a retail site, that might mean confirming the approved playlist returns. For a boardroom, it might mean checking that staff can reconnect a laptop without calling the installer.
Keep the final equipment list, display dimensions and resolution, written warranty terms, and support contact in one place. Collect any controller configuration files included in the quote and confirm who keeps them. If anything remains open, write down the issue, who will resolve it, and when it will be retested before you close the job.
Planning an SMD screen installation? Send MNK Digital your city, a photo of the proposed location, approximate dimensions, and a sample of what you want to display. That gives the team a starting point for discussing your site survey and installation scope. Contact MNK Digital.